>
>
Residing close to Hialeah means one can buy a lot of goodies by the roadside from “flying vendors”, who sell anything from the trunk of their cars, – electronics, Christmas decorations, clothes, steaks, flowers, fruit, churros, plants, mani, limes, and of course, “fresh seafood”.
I suspect that most of this stuff comes from a “fell off the truck supplier”, but who knows 🙂
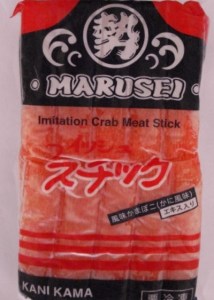
My neighbor, Maribel, showed me some of the bargains she bought yesterday from a roadside seafood dealer and asked me if I can replicate one of her favorite dishes, crab meat risotto. Of course, I was happy to do this for her and her husband, as I do cook at least twice a month for them. I asked her to bring me the crab meat; I had the rest of the ingredients in my larder and fridge, so no problem. Well, to no surprise to me, the $10.00 pack of “crab meat” turned out to be Surimi (Kani Kama). To the seller’s credit, at least it was in good shape and smelled and felt very fresh when defrosted, so I explained to Maribel that I can make a seafood risotto for her and that it would be a great dish, although with a basic seafood taste instead of crabmeat taste. And so I did, using the surimi and clam juice for flavor, and the resulting risotto looked great, tasted great and, most important, it made my neighbors happy. (I assume the “crabmeat risotto” which they usually eat at their favorite restaurant in Hialeah is not exactly loaded with “real crabmeat” either 🙂
So there you have it – a wonderfully tasty and pretty dish for the price of a basic “fish and rice” meal. Mission accomplished! 🙂
>
Bon Appétit ! Life is Good !
>
>
Click her for more Risotto on ChefsOpinion
>
Click her for more Seafood on ChefsOpinion
>
>
>

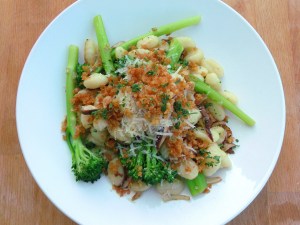
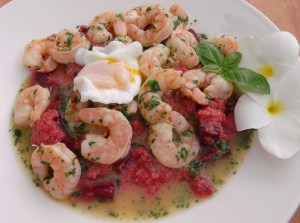
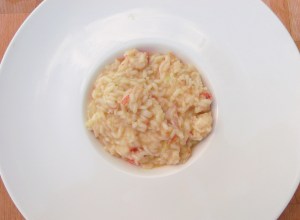
Poor Man’s Crab Meat Risotto
>

Poor Man’s Crab Meat Risotto
>
>
>
Preparation :
To read instructions, hover over pictures
To enlarge pictures and read instructions, click on pictures
>
>
>
-
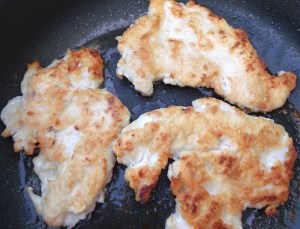
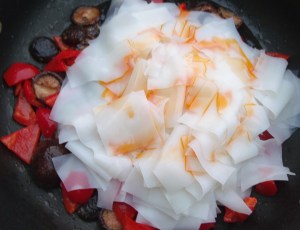
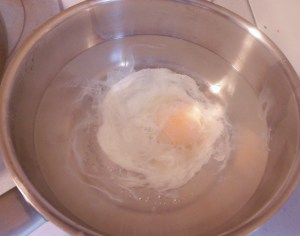
- rinse 1 lb kani kama in cold water, squeeze dry, saute in 2 tblsp butter until warm, reserve
-
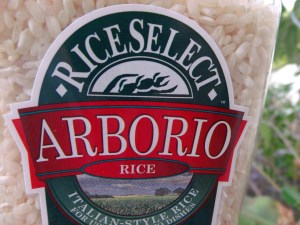
- measure 2 cup arborio rice
-
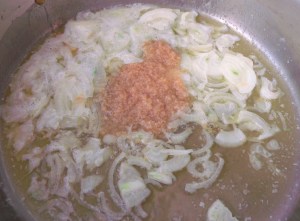
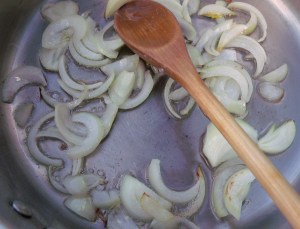
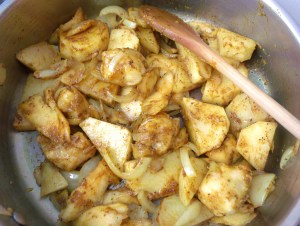
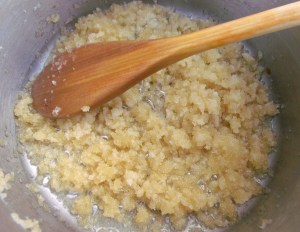
- saute julienne of one medium size onion in 3 tblsp olive oil until translucent, add 1 tblsp garlic paste
-

- add the rice, saute until well covered in the oil
-

- add 1/4 of the kani kama, season with kosher salt and cayenne pepper
-
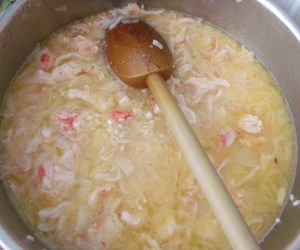
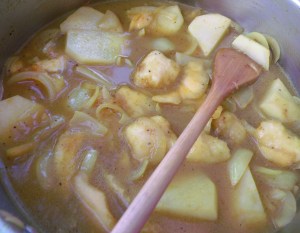
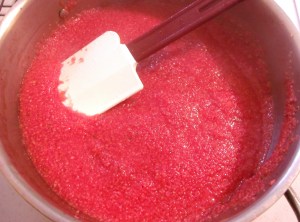
- while continuously stirring, gradually add clam juice until the rice is almost done and most liquid has evaporated, add 4 oz whole butter and 1/4 cup heavy cream
-

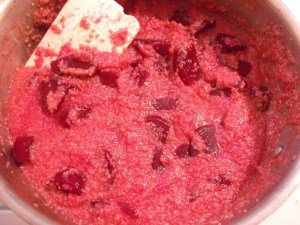
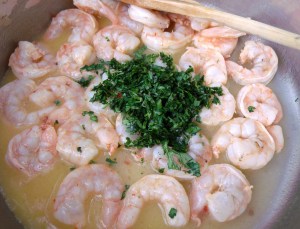
- add 2/4 of the remaining kani kama and 2 tblsp sliced scallions, simmer until creamy, check/adjust seasoning
-
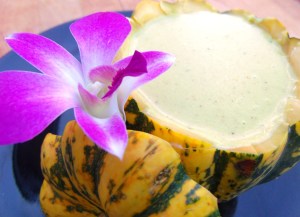
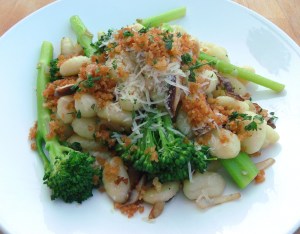
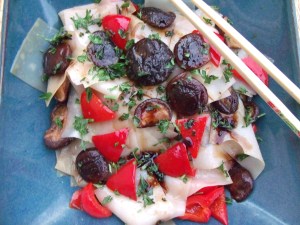
- divide the risotto into 4 serving plates, top with the remaining kani kama and some more sliced scallions; serves 4
-
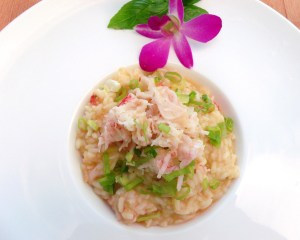
- Poor Man’s Crab Meat Risotto
-

- Poor Man’s Crab Meat Risotto
-
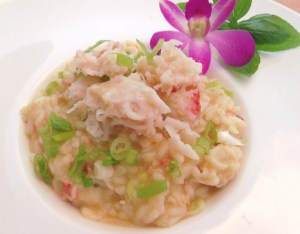
- Poor Man’s Crab Meat Risotto
>
>
>
>