>
>
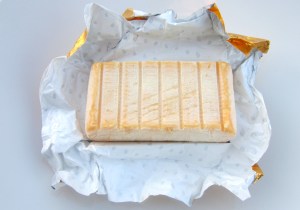
Like last year, this year again I celebrated Christmas eve with my dear friends Dieter and Chacha, who were gracious enough to invite me to their family celebration. As usual, the food was out of this world. This years star of the dinner was a wonderful, tasty and succulent standing rib roast with all the trimmings and for dessert we all enjoyed Dieters traditional, perfect soufflé.
After everybody ate, there was one leftover soufflé, which I bravely volunteered to put out of it’s lonely misery.
(All this great food plus two soufflé’s on one evening – no wonder my belly looks so muscular). 😦
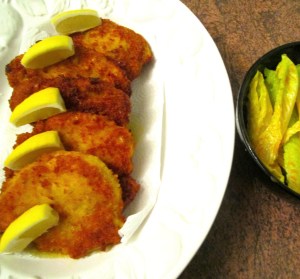
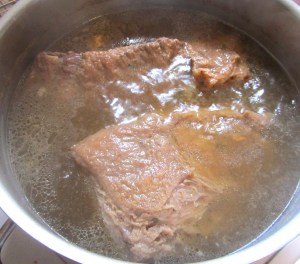
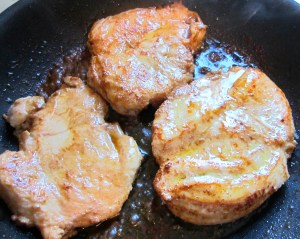
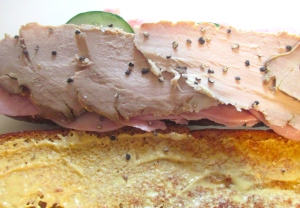
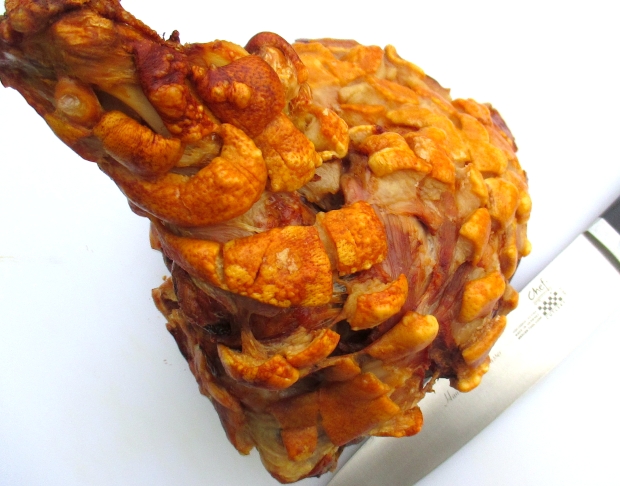
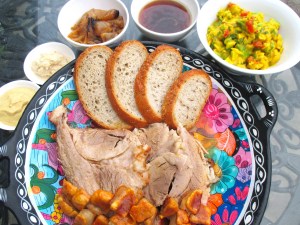
Earlier, just before I left my home to go to dinner, my friend Curtis showed up with Christmas gifts. Among the goodies was a fresh ham of generous size, about enough to feed 7 people with a healthy appetite. In other words, enough for Bella and I to pig-out for two days 🙂 So, before I took off to Chacha’s and Dieter’s dinner, I scored the skin of the ham, salted it very generously with kosher salt and put it in the fridge to be cooked the next day. (This helps to draw the moisture from the skin and gives you a superior crackling). The next day, Thursday, I cooked the ham by starting it off at 420F for 20 minutes, then turning down the temperature to 325F for 4 hours and finishing the last twenty minutes at 420F again to crisp up the cracklings.
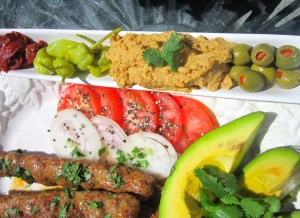
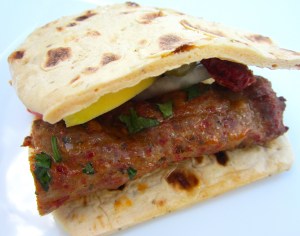
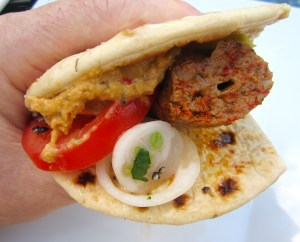
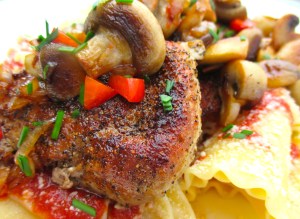
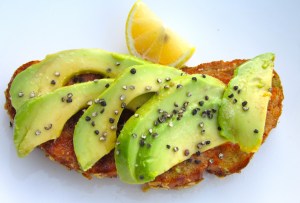
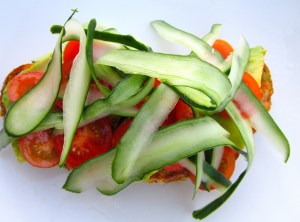
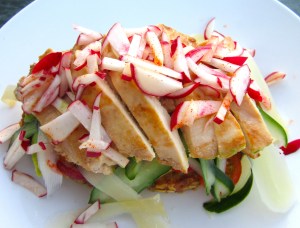
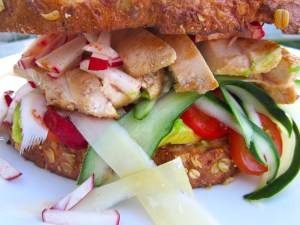
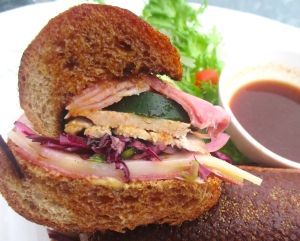
On this occasion I have forgone more traditional sidings such as vegetables, beans, rice, pasta or potatoes in favor of a simple guacamole, seeded rye bread, the pork jus, the onions which cooked together with the ham, grey poupon mustard and horseradish.
>
Bon Appetit ! Life Is Good !
>
>
Click here for Guacamole Recipe
>
>
P.S.
I will post a follow-up on the dishes I prepared with the leftovers.
>
P.P.S.
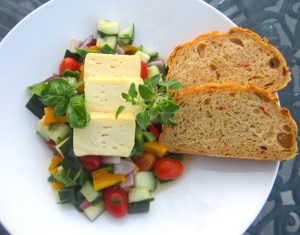
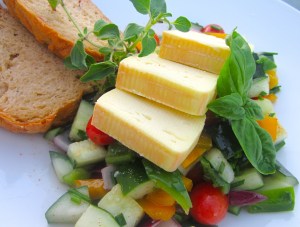
I believe it is time to live a bit more “light” for at least the next few months, so starting January, I will change my food (and therefore my post’s) to a bit of a lighter fare 5 days a week, while the weekend will feature the same type of food as usual, just smaller portions – and, sad to say, a drastic cutback on sweets.
Look for ” Hans’ Lighter Comfort Food “ in upcoming post’s. See you there 🙂
>
>
>
.
>
Roast Fresh Ham
>

Roast Fresh Ham
>
>
Preparation :
>
To read instructions, hover over picture
To enlarge pictures and read instructions, click on pictures
<
>
>
-

-
fresh ham
-

-
score skin, salt generously with kosher salt, rest overnight in fridge
-

-
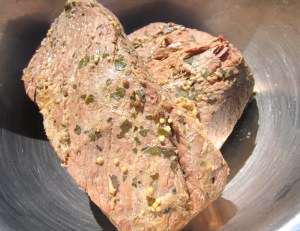
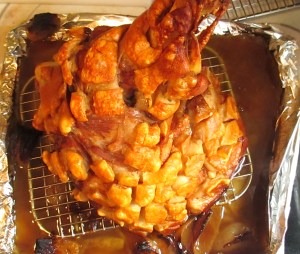
onions, caraway seed, granulated garlic, chili flakes
-

-
place ham on rack over onions, place in 420F oven, add water to baking pan, roast at 420F for 20 minutes, then 4 hurs at 320F, then another 20 minutes at 420F
-
-
remove ham from oven, let rest for 15 minutes in a warm place before cutting
-

-
Roast Fresh Ham
-

-
Roast Fresh Ham
-

-
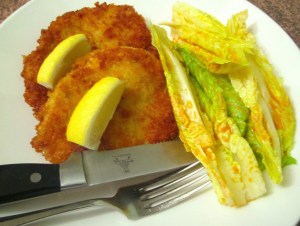
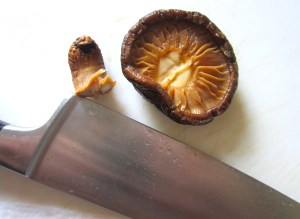
Roast Fresh Ham + MY knife 🙂
-
-
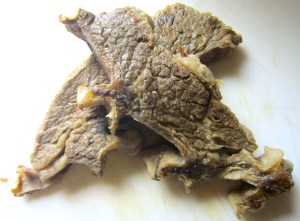
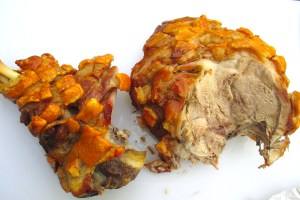
remove shank, reserve for another meal
-

-
meanwhile, remove and reserve onions, strain jus, remove most fat, check / adjust seasoning
-
-
Roast Fresh Ham
-

-
Roast Fresh Ham
-

-
pork jus, guacamole, braised onions, horseradish, grey poupon mustard